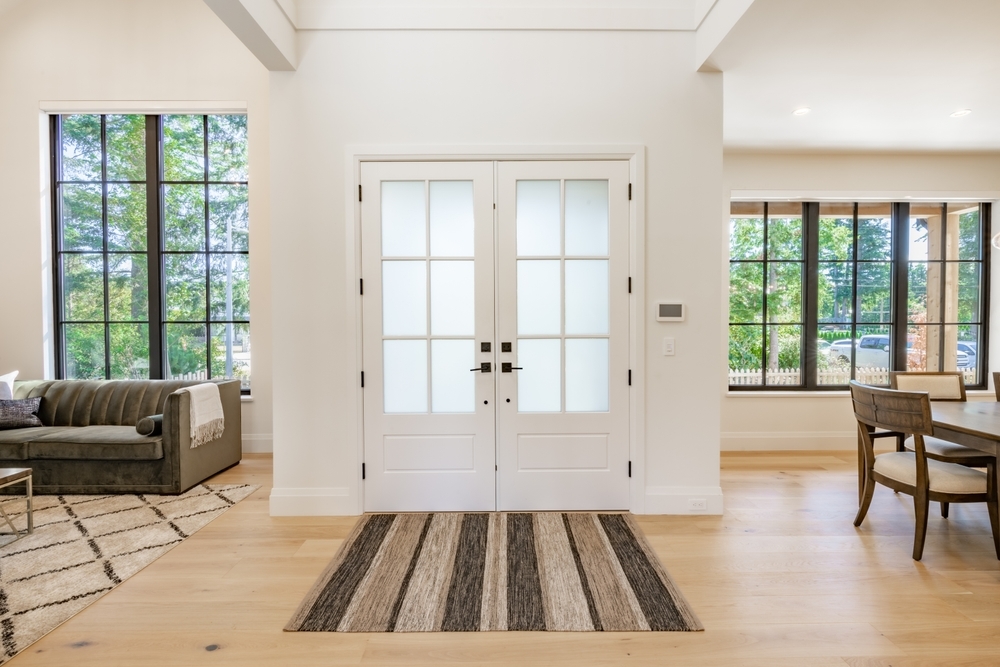
Do-it-yourself interior door installation

You can correctly install the interior door with your own hands without the involvement of third-party specialists. But some nuances are essential for any master to know. Otherwise, the slab can be damaged, or the door structure can be assembled, not closing tightly. We offer you a step-by-step scheme for the execution of work and additional recommendations from an experienced master which will help you mount an interior door in just a couple of hours.

Required tools
Any installation work begins with the preparation of the necessary tools. To install the door, you will need:
- mount;
- saw on wood;
- electric drill with a set of drills;
- chisel;
- screwdriver;
- tape and pencil for marking measures;
- building level;
- screws or self-tapping screws;
- polyurethane foam.
Preparing the doorway
Before interior door installation, it is necessary to prepare the doorway appropriately. It should be slightly larger than the door frame, but not too much, be even and firm. If you have an old door installed, then, of course, you need to dismantle it:
- Remove platbands
- Remove the slabs from the hinges
- Saw one rack in half and remove the frame with a pry bar
- If necessary, you can cut the second post.
It is necessary to work carefully so as not to damage the opening. If you have damaged it, then you must restore it before installing it.
Assembling the door frame
The thickness of the timber used for the manufacture of the box must necessarily be no less than the total thickness of the slab.
Before starting the assembly of the door frame, you should measure the dimensions of the doorway and the slab installed in it. This will allow you to correctly calculate the dimensions of the racks and lintels and take into account the size of the technological gaps. Measurements are made using a measuring tape. While you need to measure the left side separately and then the right side without relying on the “mirroring” of the opening.
There are two options for sawing the timber for the opening:

- At an angle of 45 degrees. Even though such a docking looks lovely, if you have no experience in carpentry work at all, it is better to refuse this option right away. Self-tapping screws are used to connect structural elements. They twist perpendicular to the cut.
- At a 90 degree right angle. The cuts are made with a fine-toothed saw. The ceiling bar is attached to the uprights. When calculating its dimensions, it is necessary to consider that the distance should be about 6 mm wider than the slab. This is required to arrange two side clearances.
When arranging a threshold, cuts are made exclusively at a right angle of 90 degrees.
Important! Collect the elements of the box only on a horizontal plane, for example, on the floor. But in order not to damage it, cardboard or similar material can be placed under the bottom.
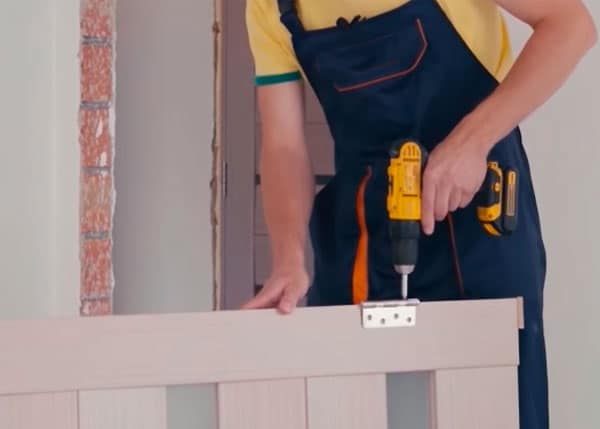
Installation of fittings
Door hinges are sold in three types: left, right, and the most practical – universal. They have a flag design and are neatly cut by removing a layer of veneer or laminating equal to the thickness of the flag.
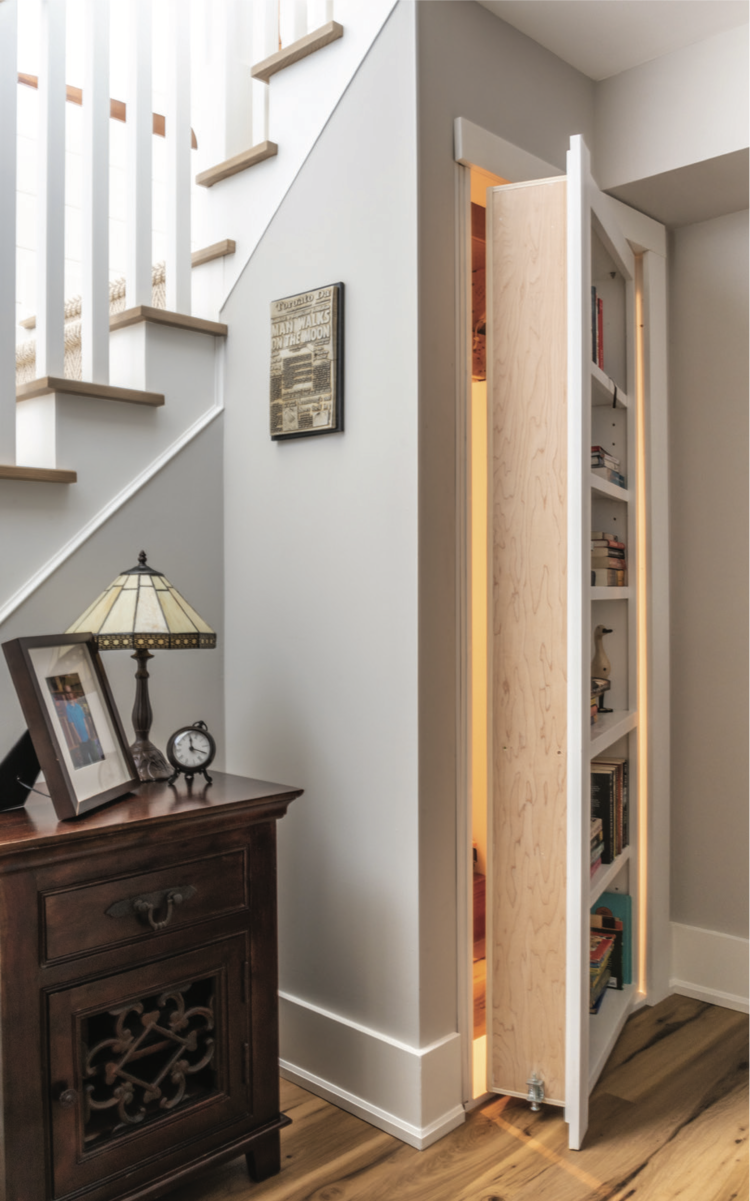
Important! The door opening side should be selected depending on the type and size of the room. For example, in a closet or bathroom, it will have to open outward and from any large room – inward.
According to the standard, the distance from the upper and lower edges of the slab when installing the hinges should be eight inches. If an additional 3rd hinge is provided, it cuts in at 20 inches from the top of the blade.
The hinges are installed flush with the door slab and frame. You can select an extra layer of wood using a chisel.
The doorknob is installed 40 inches above the floor as standard.
Important! It is much easier to fix the hardware even before assembling the box. This is because it will not be very convenient to choose a space with a chisel to hide the flag on the hinge bar.
Interior Door Installation:
Three long and massive self-tapping screws or anchors are enough to fix the assembled structure in the opening. From above, they are closed with hinge flags and a lock striker. Holes for self-tapping screws must be marked and drilled in the wall with a drill in advance. The construction foam will give additional stability to the structure, which is blown into the openings after the installation is completed.

Installation of the door frame in the opening
Step-by-step instructions for installing the box in the opening:
- The door assembled on the floor or other horizontal surface must be carefully lifted and placed in the opening. If possible, it is advisable to do this together.
- Wedges must be driven in between the door frame and the wall to form gaps, which will be blown out by foam. They can be made from leftover lumber.
- Self-tapping screws are screwed flush into the wall.
- The base is carefully aligned horizontally and vertically, which is checked using a level or plumb line. Deviations can be leveled by loosening or additional tightening of the screws.
- Hang the door slab and be sure to check how the structure works when opening and closing. There must be no gaps, curvatures, and distortions between the beam mounted in the opening and the canvas.
- The box along the foam layer should be sealed with masking tape. It will protect it from pollution. For blowing in the outer perimeter of the door frame, it is recommended to use foam with a dispenser.

When the polyurethane foam finally hardens, you need to cut off its excess with a construction knife, and all that remains is to fill the decorative platbands on top. They hide unpresentable seams and give the structure a complete look.


 Steel Security Doors