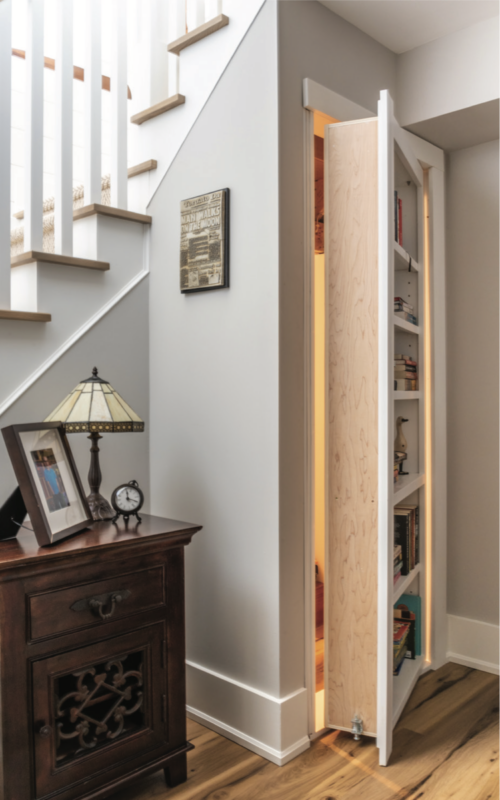
Initially, doors played a purely functional role of keeping heat in the house, and often they were not outwardly remarkable. But the use of modern technologies and materials has made it possible to radically change this situation – now interior doors harmoniously fit into any interior of an apartment or house, without losing their direct function. Every year, sliding door structures are gaining more and more popularity in the door market.

Sliding Door Prices for residents of New Jersey & New York
A single-glazed sliding glass door costs about $1,000, while a large, wood-framed door with double glazing, tinting, or additional amenities like shades or pet screens costs over $6,000. The average cost to install a sliding glass door is $2,100. The average project will cost between $1,000 and $3,3400 in supplies and labor.
Additional features of sliding doors
Added features can increase the price of a project by $20 to $500 per one. Examples include smart locks, pet panels, grids, or retractable screens.
Grids: A purely decorative element, sliding glass door grids often add $50–$100 to the price of the door you pick.
Pet doors may be added to sliding glass doors for between $150 and $400, making it simpler for animals to enter and exit the house.
Basic blinds or shades for sliding glass doors range in price from $20 to $150, while built-in blinds can increase the price by $150 to $400
Locks: Expect to pay $20 to $100 more for an aftermarket lock or up to $700 for a smart lock if you want better security.
Installing a screen might cost between $150 and $500. When not in use, retractable screens, which cost between $100 and $400, are kept in a side channel of the door.
Improved sliding glass door insulation inserts cost $300 to $500 but can save monthly electricity costs.
Even when the price is high the advantage of such sliding doors are:
- small occupied area when opening in comparison with swing models;
- there is no need to lubricate the loops that make themselves felt with their creak;
- high level of security – you will never stumble upon such a door when walking in the dark, and you will not be able to pinch your finger when closing;
- such a door will never open from a draft;
Sliding door components:
- frame (can be either solid or canvas with cutouts for glass). The role of the material can be MDF, aluminum (such frames are not afraid of moisture, are light and durable) and, also, tempered glass;
- sliding mechanism (guide rail with rollers and clamps);
- decorative materials (panels and platbands);
- various fittings (handles, locks and latches).
Distinctive features of sliding and conventional doors, conditional division of models according to the type of mechanism and their installation

How are sliding models different from ordinary ones?
On the move, you can name many small differences, but they all lead to one thing – the door leaf of sliding models has nothing to do with the box. While in swing models the box is a supporting structure, in sliding models it plays a purely decorative function. The role of the carrier mechanism in such models is a special guide – an aluminum rail with grooves, along which the rollers screwed to the door leaf move.
Conditionally sliding models are divided into two types:
- models in which the canvas slides along the wall, and is always visible;
models completely built into the wall (when opening the doors, the canvas is hidden in a niche in the wall).
According to the type of mechanism that is used to open the door, there are:
- non-threshold models (the door leaf moves on one upper suspension);
models with a small threshold (the canvas is held and opened due to the lower suspension);
models using both of the above mounting methods (the most reliable, and often chosen option).
The installation process of such doors is quite simple, and the quality of the work performed directly depends on the accuracy of the measurements taken, and the accuracy during the assembly process.
Let’s take a closer look at the entire installation process using the example of a simple single-slide door using two rails. It can be divided into several simple, but very important steps:
- Dismantling the old door. At the very beginning, you need to get rid of the previous door, trim, hinges and, if necessary, the door frame.
- Wall alignment. It is necessary to get rid of the smallest irregularities by filling all the cracks and crevices, to level the doorway. At this stage, it is very important to make sure that the floor and the top of the doorway are parallel, and that the sides are even. This step is very important, because the smoother you make the wall, the tighter the door will fit against it.
- Door frame installation. This is a laborious process that requires a very precise fit of the box in relation to the opening. For this, several wooden wedges are used, which allow you to adjust the location of this entire structure relative to the walls and floor. The box is fixed in the wall with ordinary screws.
- The next step is to install the mount for the guide, and the guide itself. To do this, you need a wooden rail 10-40 mm thick, which will serve as a lining for the guide, and which will not allow the slabs to rub against the wall during the opening and closing process. It is fastened above the doorway with dowels or anchors, the installation height corresponds to the full height of the door with rollers. To mount the rail, you will need a level (with it you will install the rail evenly) and a few self-tapping screws that will hold the entire structure. Very important: the guide must be perfectly straight, without the slightest bends, otherwise the door will get stuck when opening or closing.
- Preparing the slabs for installation. Depending on the selected door mechanism, carriages are screwed to the ends, which will be attached to the rollers in the guide. You should not make any grooves, you just need to screw them with self-tapping screws at a distance of 50-100 mm from the edges. Next, you should make a groove in the lower part of the door leaf, to which the lower guide will then be attached. Also at this stage of work, locks and latches are installed (the process of installing the lock is the same as in swing doors, only the design will differ). and the installation of handles should be postponed on the floor, because the door has yet to be hung on the guide and adjusted.
- Installing the door slab on the rails. The most important and time-consuming part of the installation. It is necessary to install rubber travel stops along the edges of the guide. Next, you need to connect the carriage and the bracket. It is almost impossible to cope with this task yourself, because you will need to raise the door, and in this state, insert the end of the carriage bolt into the mounting hole of the bracket, and screw on the adjusting nut with a washer. In no case is it necessary to immediately tighten them tightly. The next step is to install the bottom rail. It will be enough to slightly move the lower part of the door away from the wall, and bring it into the previously made cutout. By loosening and tightening the adjusting bolts on the carriage, we obtain the necessary clearance between the floor and the door leaf, now you can tighten the fixing nuts.
- The final step is the installation of platbands. They hide the moving mechanism of the sliding door behind a beautiful panel, and protect it from dust and debris. For doors built into the wall, special sealing brushes are used that close the gaps between the wall and the door leaf, and serve as a barrier against dust and debris.

 All Interior Doors
 Prehung Doors
 Doors By Style
 Doors By Room
 Sliding Doors
 Doors By Color
 Bi-Fold Doors
 French Interior Doors
 All Exterior Doors
 Steel Security Doors
 Fiberglass Doors
 Wrought Iron Doors
 Aluminum Windows
 Vinyl Windows
 Wood Windows
 Tables
 Accessories
 Magic Door Hardware
 Magnetic Door Hardware
 Entry Handle sets
 Barn Door Hardware
 Pocket Door Hardware
 Door Levers
 Magnetic Locks
 Hinges
 Bathroom Mirrors
 Wall-Mounted Vanities


 Steel Security Doors