Front Door Installation DIY

Do-it-yourself front door installation
Entrance doors are a crucial element of room security and protection from outside intrusion. But the reliability of the door structure depends not only directly on the material from which it is made. But also on the correctness of its installation. The fact is that there were times when thieves could not break the door and took it out along with the frame. And this is possible only in case of incorrect installation, so let’s figure out how to avoid mistakes.
Exterior door installation on plates in a brick or concrete opening
Preparing for Front Door installation DIY
At the initial stage, it is necessary to dismantle the old door structure. This may require a punch, hammer, grinder, and medium-sized crowbar.
After dismantling the door, carefully measure the existing opening and clean it from old finishing materials – cement, plaster, cracked bricks. The door structure is usually matched to the size of the opening. But if necessary, it can be expanded.
Important! It is not advisable to release the door slab from the packaging until the completion of the installation work. This will avoid damage to the decorative part of the structure with tools or welding.
Installation on plates in a brick or concrete opening
As a standard, three plates are used on each of the available sides (they are located on the side profiles of the door frame), but if we are talking about a heavy and robust steel structure, then the manufacturer uses four fasteners on the right and left.
Installation sequence
- A new door is installed in the doorway, cleared of the old frame and finishing materials. It should be leveled with a level.
- If the slab is not removable, it is opened perpendicular to the wall, and the timber is placed underneath so that the box takes a strictly vertical position.
- If the slab is removable, it is removed from the hinges before installing the door in the opening.
- When the correct position is reached, the structure is secured with hardwood wedges. After that, a control measurement is carried out using a level.
- It is necessary to make holes near the plates at the points of attachment of the door frame to install into the wall. A depth of 5-7 inches is sufficient. A hammer drill is best suited for this.
- Massive steel rods are hammered into the holes in the wall. Their ends are welded to the plates with a welding machine. Anchors can also be used instead of holes are provided in the plates.
- If you removed the slab before installation, it is neatly hung on the hinges pre-lubricated with machine oil. For this, it is better to involve an assistant.
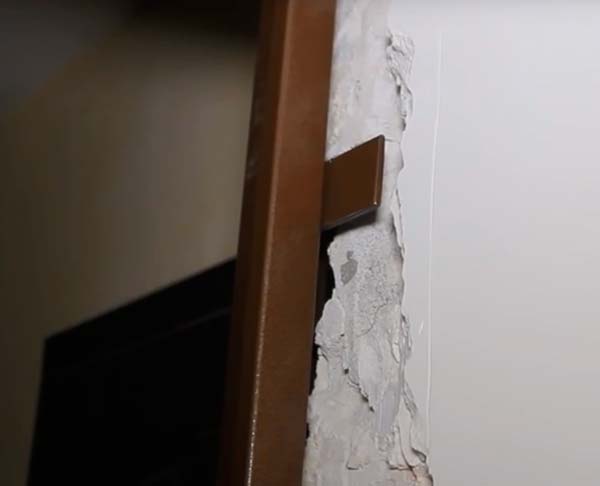
- It is necessary to check how tightly the door fits directly to the box and whether it opens and closes freely. Any misalignment in the future will necessarily lead to jamming and damage to the lock. That is why it is essential, before using the foam, to carefully check whether the latch works efficiently and how exactly the lock tongue matches the hole for it.
- The opening remaining along the outer perimeter is blown out with polyurethane foam. To improve adhesion, the wall surface can be slightly moistened with water. In this case, the visible parts of the door must be closed with masking tape, which will protect them from contamination.

Entrance door installation in the door frame
Anchors are used for installing the entrance door to the mounting holes.
Important! If there are no holes on the pretended and looped jamb, they will need to be drilled independently. It will be enough for 2 for each of these structural elements.
Most often, the manufacturer provides ready-made mounting holes. Anchor bolts are also supplied, complete with solid plastic plugs in the color of the door slab.

Installation sequence
- If the slab is removable, it is first removed from the hinges, and then the door frame is installed in the opening. If not, then, as in the first case, the door is inserted into the opening, then it opens 90 degrees, and a wooden block is placed under the slab. The level checks the verticality of the box in the opening.
- The box is fixed using wooden pegs, hammered into the technological gap between the box and the opening. It is obligatory to check the horizontal level of the structure.
- Through the fastening holes in the door frame’s side posts, holes are drilled in the wall on each side using a punch.
- The box is attached to the anchors, starting from the top. At the same time, its verticality is constantly monitored using a level.
- The door slab is hung in case it was previously removed.
- The cracks between the box and the wall are blown out with foam like in the first case.

You can use polyurethane foam to fill the free space between the door frame and the wall. But if you want to get maximum reliability and additional insulation from cold and noise outside the house, then cement mortar is better.


 Steel Security Doors